
Create a form with payment options can be lucrative to accept payments from your users. It is required that you collect some user details from your forms before collecting payments. So, you can process the order in easy ways.
In this article, I am going to show how to create a form with payment options. You can now easily integrate payment processors with your form. Let’s get started:
Introduction

The tool which I am talking about in this post is WPForms. Yes, you heard it right! WPForms is one of intuitive and easy to use form builder to create any type of forms with just a single click. It is founded by Syed Balkhi a pro blogger and WordPress enthusiastic.
Some of the features that you will get from this intuitive builder are:
- Drag and Drop Form Builder.
- Create custom forms.
- Create Conversational forms.
- Survey forms and signature forms.
Why Create Payment Forms?
Creating multiple forms can be a daunting task for bloggers and webmasters. Many bloggers are using multiple plugins to create a separate form that accepts payment. But you need a centralized form that not only accepts user’s data but also accept the payments with it.
Here are some of the benefits to create a payment form using WPForms. Some of them are:
- Collect payments directly on your website.
- Single form integration.
- Save time and money.
- Ability to create a subscription-based membership site.
- Easy integration and no extra plugin required.
How to create payment Form using WPForms?
WPForms have really come up with some great features. Let’s check out how we create a payment form using WPForms.
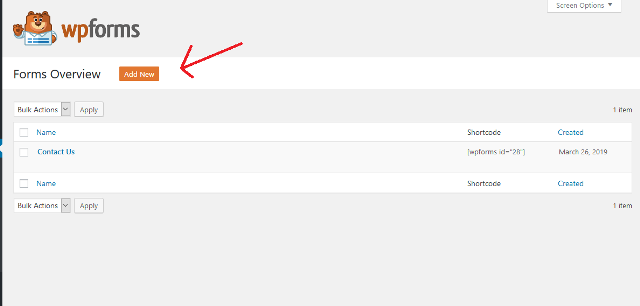
Step 1
To create a Payment form you need to install and activate the WPForms Plugins from WordPress. Just Search for WPForms and you will find it.
Step 2
Make sure you have bought their premium subscriptions to avail the Payment add-ons like PayPal and Stripe. I suggest you buy their “Pro” plugin to avail maximum features. Click here to get 50% Off on all plans.
However, you can individually buy their add-ons like PayPal and Stripe. I highly recommend you to go for their membership options to save money.
Step 3
Now create a new form through the plugin. You can use predefined templates or create a form from scratch. Customize your form data and add the necessary and required field as per your needs.
Step 4
When your form is ready, Just go to Payments, select Stripe or PayPal to configure the payment settings so your form can accept payments from people.
Next, click the checkbox labeled Enable PayPal Or Stripe payments, give your payment a description, and select Email as the Stripe or PayPal Payment Receipt.
To make your Payment as recurring, scroll down below on the payment settings panel and click the checkbox labeled Enable recurring subscription payments under the Subscriptions section.
Check everything and click save.
You are now ready to accept the payment through your form. Make sure you test everything including payment pages before making it live for the users.
Conclusion
You might be thinking of why recurring payment functionality is important for your WordPress forms. Actually, when it comes to generating revenue, forming a good relationship with your customers is the key to your success. WPForms allows you to create various online forms including Payment options. This will centralize your payment options without investing time and money on different tools and plugins.
I hope you found the post useful. Let me know what you think about this? If you have any questions ask me in comment sections.
Nice post Harshil, I truly appreciate your work on this post, It’s very easy to understand the readers.